english girl at home

A Sewing & Knitting Blog, Made in Birmingham, England


3 Comments

Sewing Projects are Never Really Finished

Simple Sew Grace Dress

As mentioned in my last blog post, I recently repaired this little Simple Sew Grace Dress, and then realised that it no longer fitted me. I decided the dress was worth an attempt to make it bigger, and if that didn’t work I’d admit defeat and it would move into my fabric scraps basket.

Simple Sew Grace Dress

I couldn’t gain any ease from the existing seam allowances as I had trimmed and overlocked them very close to the seam line. This is how I’ve always overlocked my projects, and it does give a lovely neat finish, but in future I’m planning to leave larger seam allowances on areas I might want to let out in future. P.S. Gillian has some great tips on sewing for gaining weight on the Sewcialists blog this week.

Simple Sew Grace Dress

Luckily, the remnant of fabric left over from making the dress was large enough for me to re-cut the waistband and the back bodice pieces (but not the front bodice). Since the skirt is gathered, it was easy to gain some length there, and I was even able to reuse my existing gathering stitches!

When I made the dress back in 2017, I cut a size 8 at the bust, grading to a 10 at the waist. Referring back to the pattern I found that my measurements now put me into a size 12. I had cut (as opposed to traced) the pattern when I first made the dress, so I worked out approximately how much width to add to the pattern pieces to cut a size 12 back bodice and waistband. Adding all of the additional ease to the back of the bodice meant that the armholes hung slightly low, so I added two short darts at the front armholes to mitigate this.

Simple Sew Grace Dress

I wasn’t sure my fix would work, but I now have a dress which fits me well, if differently than previously. The pattern was designed to have a close fitting bodice and waist, whereas I have some ease (and could probably pop a t-shirt underneath), but if anything it has made it more wearable – especially at the moment, to wear at home or on a walk locally, as in these pictures which we took on our new regular walking route yesterday evening.

Simple Sew Grace Dress

All in all, I’ve now spent quite a bit of time on this simple dress, but it has been fun to successfully rescue a project from my repairs basket, and to problem solve a solution. It’s proof that a sewing project is never really finished.

Simple Sew Grace Dress

There’s still A LOT to work through in my repairs and UFOs baskets. I’m thinking I might tackle my too-small jeans next, but maybe next week!

Simple Sew Grace Dress


2 Comments

A Dress with Nine Lives

Simple Sew Grace Dress

We’ve been working our way through the house since social distancing began, cleaning and sorting through the contents of all of the drawers and cupboards. Inevitably, I finally reached the baskets containing my UFOs and repairs.

I’m aiming to work my way through the baskets over the next few weeks. I’ve set myself the same goal before, with largely the same contents of the baskets, but with more time at home perhaps I’ll be more successful this attempt? There’s always going to need to be a UFOs basket, but it would be good to empty it and start fresh.

Simple Sew Grace Dress

This dress was the first project I pulled out of the basket. It’s a Simple Sew Grace Dress, which I originally blogged in 2017. I made this dress in a hurry to wear to an event, the fabric frays easily and I was planning to revisit it to stabilise the seams before washing or wearing it again. Unfortunately it accidentally got thrown in the washing machine and emerged with holes along the centre seam.

I carried out a panicky repair job, overlocking everything in sight. In my rush to repair it I did a terrible job of gathering the skirt (which is a bit heavy to gather well), and the waistband was still quite damaged. I wore it a few times (including in those previous blog photos), but then it went it to the repairs basket.

Simple Sew Grace Dress

Yesterday I found out a remnant of the fabric I used to sew the dress (which was a gift from Madalynne through a giveaway on her blog), and recut a new waistband. I also regathered and attached the skirt.

It looks so much better now. The only downside is that the dress is now too tight to be comfortable. Partly as a result of me gaining weight since I originally made it, and partly because I was careful to stabilise the waistband this time around, via a combination of underlining and lining.

So, I’ll be revisiting this dress again later today, to see if I can eek out enough ease by reducing the seam allowance at the zip to add this back into my wardrobe this summer.

Simple Sew Grace Dress


1 Comment

Fibre Mood Dora Dress

Fibre Mood Dora Dress

The latest issue of Fibre Mood magazine (issue 9) is released today. This month I got the opportunity to view the patterns early and to pick one to sew for launch day. I picked the Dora Dress, which has flutter sleeves, a high neckline, and a loose fit cinched in at the waist with a fabric belt.

Fibre Mood Dora Dress

I made size 38 and used a John Kaldor fabric from Sew Essential which I think I bought during an in-person blogger visit in April 2016. So almost four years to the day this fabric was purchased it finally became a garment and made the move from my stash into my wardrobe.

Fibre Mood Dora Dress

You can view the full Fibre Mood magazine online for free, so it’s easy to review the patterns and decide if you want to purchase the magazine, or one or two of the pattern PDFs individually. It’s also possible to see the patterns in motion, as the Fibre Mood YouTube channel features short video clips of the patterns being worn by models during the photo shoots. If you fancy trying out one of their patterns for free, the Fibre Mood team are currently running a Social Sew Along every Friday, where you can download a free pattern and sew-along with the team on Instagram Live. This week’s project is a dress from the new issue (which happens to be called Charlotte).

Fibre Mood Dora Dress

These photos were taken in the park at the end of our road during yesterday’s daily walk. Phil and I have been making a point of taking a walk each day to ensure that we do get some time out of the house and some exercise. The walks vary in length considerably, normally depending on how late in the day we leave it before getting out and how energetic (or not) we are feeling. Yesterday’s walk was particularly short, just around the park, as the shoes I wore for these photos are not as comfy as the trainers I normally wear!

Fibre Mood Dora Dress

Wearing this dress for a walk also made it very clear that the length is currently a bit restrictive. As someone who is normally dashing to and fro (Phil regularly complains about how quickly I walk) I’m going to go back and add a vent, or probably just shorten the length, to avoid future frustration.

Fibre Mood Dora Dress


3 Comments

1983 Inspired Tees

The Smiths Screenprinted Seamwork Tees

Hi everyone, I’m sharing some photos taken in our garden today, which is possibly the furthest I’m venturing for any blog photos for a little while. I haven’t been stuck at home long enough to actually tackle any gardening yet (it may be coming), but I did pop outside to get some pictures of these t-shirts, and to join in with an online tap class on the patio (not pictured).

The Smiths Screenprinted Seamwork Tees

These t-shirts are one of my projects for the Sew Your Birth Year challenge currently being run by The Sewcialists. I was born in 1983, the same year my favourite band, The Smiths, formed and first toured. These tees are based on the design of a t-shirt from that original tour, featuring the band name and a bunch of daffodils. I was originally just making myself one but Phil requested one too, cue matchy matchy photos!

The Smiths Screenprinted Seamwork Tees

My t-shirt is a Seamwork Jane tee (size XS; see my previous version here). Phil’s t-shirt a pattern hack, it’s the neckline and shoulders of the Thread Theory Strathcona Henley, and the body of the Seamwork Eugene, graded between the two at the armhole (also using the sleevehead of the Strathcona, but the bottom of the sleeve is the Eugene!).

The Smiths Screenprinted Seamwork Tees

The fabric for both is a ‘Maria’ cotton jersey from Sew Me Sunshine. I completely overlooked that a t-shirt for Phil requires more fabric than I am used to ordering to make a t-shirt for me, and I used every scrap of the 1.5 metres of fabric I ordered (to hell with grainlines) to cut out these tees. I very carelessly pre-washed the white fabric along with some coloured jersey and it came out of the washing machine a light pink (the tees are pinker in real life than they look in these photos). Despite my errors the t-shirts came to fruition, and if anything a pink t-shirt is more interesting than a white one!

The Smiths Screenprinted Seamwork Tees

I screen printed the designs by cutting three stencils out on acetate sheets (one for each colour), and printing through these using a screen and fabric printing inks. I haven’t done any screen printing for quite some time and the black lettering is quite patchy, but I don’t think that looks out of place on a band tee.

The Smiths Screenprinted Seamwork Tees

I have another 1983 inspired project to share very soon. Due to being a teenager at the time, the 90s is the decade where I have most personal connection with the clothes, including with lots of individual garments I wore or wanted to wear, but it has been really good fun to find sewing inspiration from the year I was born.

The Smiths Screenprinted Seamwork Tees The Smiths Screenprinted Seamwork Tees


Leave a comment

March Sewing Zine Vlog

No new vlogs for two months and then two in one week!

I’ve just uploaded a new vlog about what I’ve been up to lately, including my plans for the Sewcialists Sew Your Birth Year mini-challenge, and attending a soft basketry workshop.

View it below or via my YouTube channel:

Things mentioned:

The Sewcialists Sew Your Birth Year Mini Challenge

Sugardale, Len Coveralls

SewOver50, #so50visible challenge

My The Maker’s Atelier Asymmetric Gather Dress

Paper Theory Patterns, Olya Shirt/Shirt Dress

Soft basketry workshop with Averil Otiv

The SewBrum Meet-up (Saturday 24th October 2020)

Little Black Duck, Spools of Thread Mini Quilt


2 Comments

SewBrum 2020 – 24th October

I wanted to pop on the blog to send best wishes to everyone who is being affected by Coronavirus, whether through sickness or risk of sickness, impact on your income or business, or stress at the ongoing uncertainty.

It might sound a bit frivolous, but I also wanted to share a save the date for SewBrum 2020.

This year’s meet-up (which will be the seventh!) will take place on Saturday 24th October 2020. It will be an opportunity to get together in person later this year, and to support independent shops in Birmingham. It’s also a free event so can be a cheap day out (dependent on your travel arrangements). Plus, as a free event, if your plans change nearer the date you can cancel your registration at any time (spaces aren’t limited).

You can sign-up on Eventbrite, and find more information on my blog, including accessibility of the venues we visit.

If you haven’t attended before, SewBrum is a free-to-attend meet-up of people who love to sew in Birmingham, UK. Everyone is welcome. We will start the day in Birmingham city centre and then travel to Guthrie & Ghani in Moseley Village, by bus.

Logo by illustrator and sewist Maike Plenzke.


1 Comment

Two Jarrah Sweaters

Megan Nielsen Jarrah Sweater

Pattern: Jarrah Sweater by Megan Nielsen

Sewing time taken (excluding cutting out): 3 hours each

Fabric: (pink & grey) double-sided sweat-shirting from Bennytex, bought during #ParisSewcial / (blue) Atelier Brunette sweat-shirting from Guthrie & Ghani

Megan Nielsen Jarrah Sweater

Sweatshirts are one of my favourite sewing projects. They are really quick and easy to make, don’t use a lot of fabric, and I get loads of wear out of them. Last year I decided I needed to branch out from Grainline’s Linden pattern, and Megan Nielsen’s Jarrah was one of the alternative patterns I tried.

Megan Nielsen Jarrah Sweater

One of the benefits of the Jarrah pattern is that it’s very versatile, with neckline, hem and sleeve variations. I’ve made two versions, both using the tie-front option, and two different sleeves. My first version (in blue below) used the standard cuffed sleeve, and my second version (in pink and grey) used the split sleeve hem. I reduced the length of the split sleeve by a couple of inches, as originally my hands were completely hidden (which looked weirder than it sounds when worn & wasn’t very practical).

Megan Nielsen Jarrah Sweater

I especially love this pink and grey version. The fabric was a bargain, purchased from Bennytex during the #ParisSewcial meet-up. It’s a double-sided fabric which is such an easy way to add some extra interest to the pattern. Having made a lot of sweatshirts I do think that getting the right weight of fabric makes a big difference. The Atelier Brunette fabric used for the blue version below, although high quality, is actually a little too light weight in my opinion. Resulting in it not hanging as well, and creasing quickly. I find that the Liberty sweat-shirting (as used in this DPL belted) can be a little too heavy weight, ending up in a very bulky sweatshirt. This pink and grey fabric is about right, although veering slightly towards too lightweight. In Goldilocks terms, of the sweatshirts I have made this Linden is the closest to the fabric weight being just right (I think it’s this Fabrics Galore fabric). It has enough structure to hang well, barely creases, and is suitably cosy.

Megan Nielsen Jarrah Sweater

Due to the grown-on sleeve, Jarrah has a slightly slouchier look than the Linden (which has a raglan sleeve), and you can see some bunching of fabric around the armpits in these pictures which I think is totally acceptable in a sweatshirt.

Megan Nielsen Jarrah Sweater

Another of my other favourite things about making sweatshirts is that, once they are looking a bit too tired or bobbly for wearing out to work or at the weekend, they are perfect for wearing around the house. I’m going to throw one on now (as I’m currently still in pyjamas) to tidy the house and hopefully get to some sewing this Sunday afternoon.

Megan Nielsen Jarrah Sweater Megan Nielsen Jarrah Sweater Megan Nielsen Jarrah Sweater Megan Nielsen Jarrah Sweater Megan Nielsen Jarrah Sweater Megan Nielsen Jarrah Sweater


4 Comments

FreeSewing Carlton Coat

FreeSewing Carlton Coat

Back in 2015, I made a coat for Phil using Thread Theory’s Goldstream Peacoat pattern. That coat has been fantastic (and I would highly recommend the pattern), but after five years of continual wear it had started to look a little tired lately. Phil began asking for a replacement around a year ago, and I decided that it would be an ideal opportunity to finally try out a pattern from FreeSewing. I love the ethos (and the coding genius) of FreeSewing and support the site as a patron, but was yet to try out a FreeSewing pattern.

FreeSewing Carlton Coat in progress FreeSewing Carlton Coat in progress

If you aren’t familiar with the site, it is community-based, entirely free to use and patterns are generated based on your specific measurements. The FreeSewing pattern I used, the Calton Coat, was released on the site in 2018 and is based on the coat worn by Benedict Cumberbatch in the Sherlock series. It has some really nice details, including a large turned-back cuff, 6 pockets (2 exterior patch, 2 internal patch, 2 welt), and a pleated coat tail.

FreeSewing Carlton Coat in progress FreeSewing Carlton Coat in progress

Due to the nature of FreeSewing (i.e. free and community-based), there aren’t currently any instructions for the Carlton Coat (although there are some for the women’s version, Carlita). Some of the more unusual pattern pieces did bamboozle me slightly, but the pattern’s designers Joost and Anneke kindly helped out when I got stuck! I was planning to write up a detailed tutorial for the construction process, but due to having a one year break in the middle I’m afraid that I don’t remember it well enough.

FreeSewing Carlton Coat in progress FreeSewing Carlton Coat

FreeSewing can generate PDF pattern files in A0 format (yippee), so I sent the pattern pieces off for printing and began making this coat roughly a year ago. The main fabric is a wool blend from Barry’s Fabrics here in Birmingham, and the lining is a Liberty cotton purchased from the “Liberty Man” (The Little World of Fabric) in Birmingham Rag Market. I interfaced pretty much every piece of this coat using a coat weight interfacing from the English Couture Company. It’s a great quality interfacing – I’ve seen similar inside RTW outerwear that I’ve refashioned. I used a hair canvas to stablise key areas of the coat (as shown in some of the construction photos above and below), and referred to an old tailoring blog series from Gertie when pad stitching the lapel and under collar. While on the subject of tutorials, I referred to this Thread Theory tutorial when constructing the welt pockets.

FreeSewing Carlton Coat FreeSewing Carlton Coat

I didn’t make a toile for this coat, and I spent ages on alterations as a result. When sewing for myself, I can almost always get away without sewing a toile, tweaking the fit of a garment until I’m happy with it. I shouldn’t assume that I can get away with the same when sewing for others. I also think that it’s a good idea to always toile a pattern, such as this one, which is generated based on the size information you input. The fit of the version you sew isn’t going to be the same as anyone else’s, and it’s always possible that you could have made an error in the sizing information input.

FreeSewing Carlton Coat in progress FreeSewing Carlton Coat in progress

I originally set myself an arbitrary deadline to get this coat ready for Phil to wear during a trip to New York in March 2019. I had long enough to finish it if, and only if, there were no fit issues. Of course, there were fit issues, so Phil carried on wearing his Goldstream Peacoat. With the weather warming up, I then put aside the in-progress Carlton Coat until the start of this year.

FreeSewing Carlton Coat FreeSewing Carlton Coat

As first sewn, the coat was generally too large, particularly around the armholes and sleeves. I reduced the length of the sleeves (I didn’t want to mess with the cuffs so took height off at the sleeve caps), narrowed the width of the shoulders, narrowed the sleeves, and raised the armholes (adding in underarm gussetts). I also reduced the length of the coat, and took in the coat at the side seams (which meant needing to detach and reattach the exterior patch pockets). My approach to the alterations was to trust my assumptions on what needed to change and to cut into the coat. It could have backfired, and at one point I did think I had made the coat too small, but the extra effort to get the fit right for Phil (admittedly retrospectively rather than via a toile…) has paid off in a successful coat which I’m sure he’ll get loads of wear out of.

FreeSewing Carlton Coat FreeSewing Carlton Coat

Phil has worn the coat daily since I completed it, and has reported back that the (Prym) covered buttons (used in two sizes, on the front and back of the coat) are not very sturdy. Two covered buttons have already been lost, partially (I think) because Phil is hard on his clothing, and partially because the metal loops used to attach the buttons to the coat are thin. I’m planning to swap the covered buttons for standard buttons, ideally before any more are jettisoned. Phil has also requested an additional button lower down on the coat, claiming that the current button positions left him with a cold belly button while we were walking around cold New York!


Leave a comment

My Favourite Sewing Pattern Releases in 2019

Favourite Sewing Patterns Banner Image

I’ve published my first vlog of 2020, which is a look back at my favourite sewing patterns released in 2019.

You can watch the vlog below or via my YouTube channel.

If you fancy revisiting some great previous pattern releases, see also my favourite patterns in 2018 and 2017.

Patterns mentioned:

Charm Patterns – Princess Coat

Helen’s Closet – Yanta Overalls

Nina Lee – Mayfair Dress

Carmen Bouchard – La Jupe en Jean

Deer & Doe – Sirocco Jumpsuit

Sew Over It / Lisa Comfort Magazine – Amelia Jacket

Friday Pattern Company – Wilder Gown

Closet Case Patterns – Pietra Pants & Shorts

Closet Case Patterns – Sienna Maker Jacket

Pauline Alice – Ayora Jacket

Tabitha Sewer – Lena Horne Dress

Opian – Pilatus Swimsuit

Vogue – V1648

Vogue – V1650

Noodlehead – Crescent Tote

Noodlehead – Redwood Tote

Sugardale – Len Coveralls


3 Comments

My 2019

Happy new year everyone! I’ve been writing this blog for eight years now and always enjoy looking back at the end of the year.

Deer and Doe Sirocco Jumpsuit

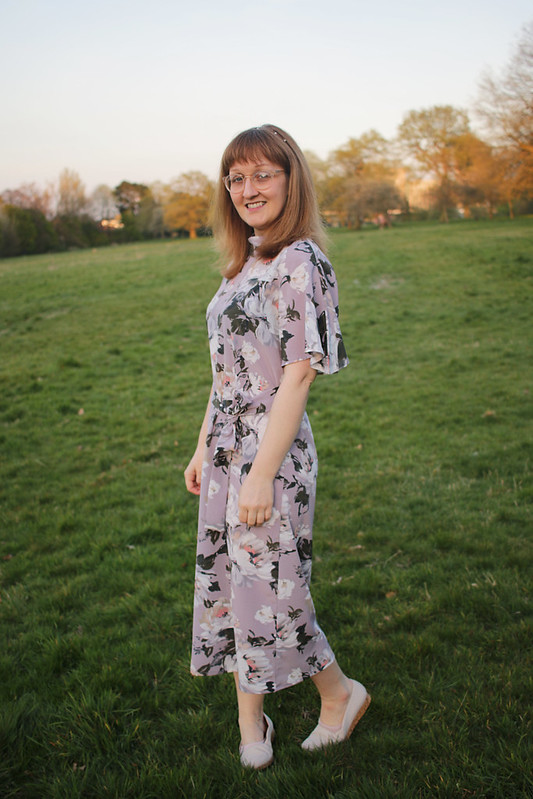
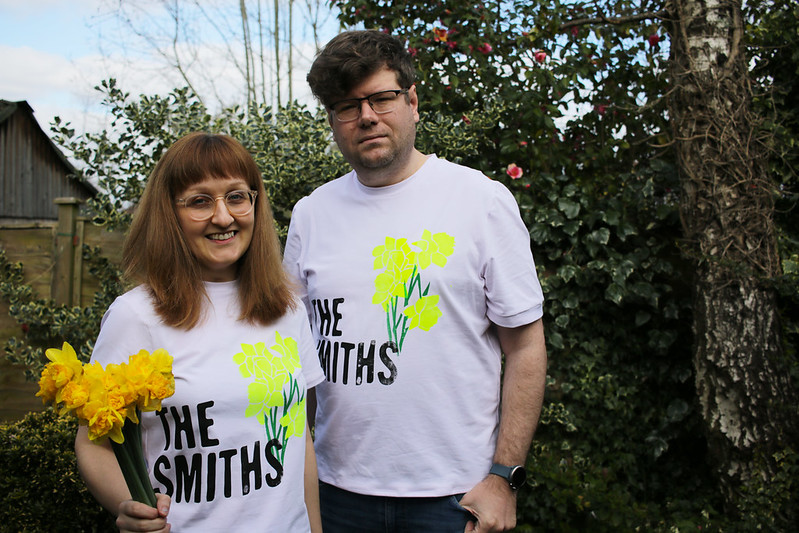
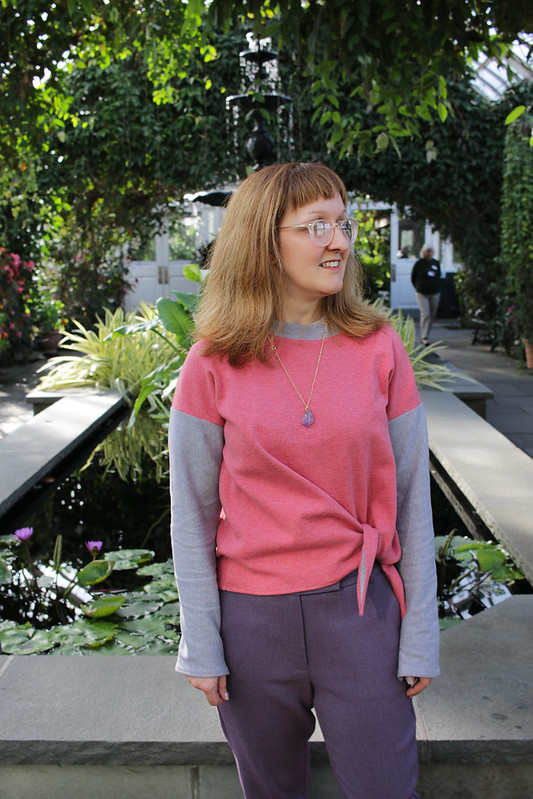
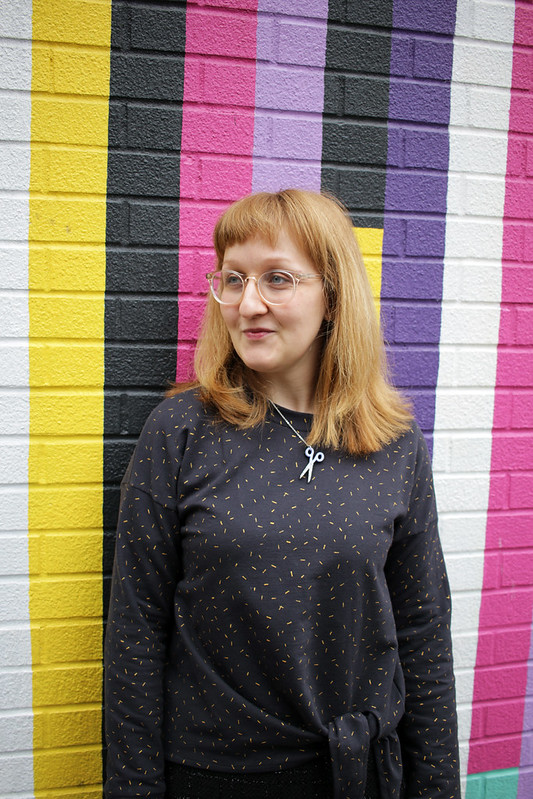
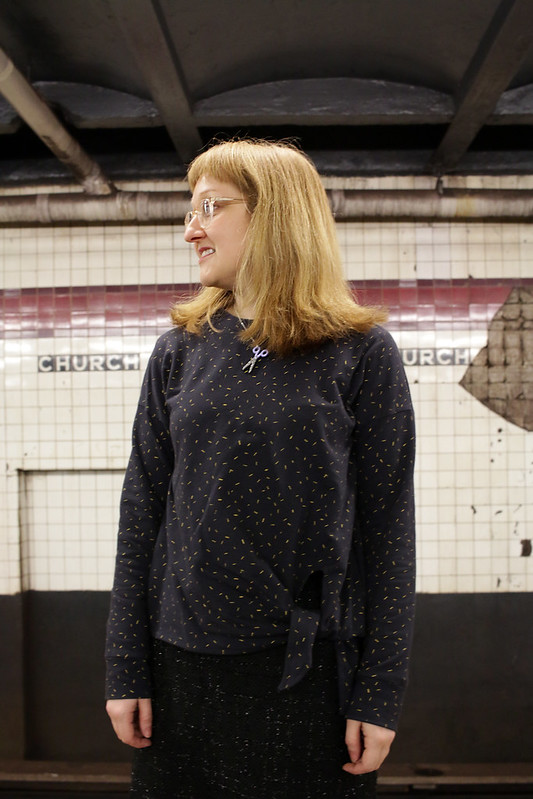
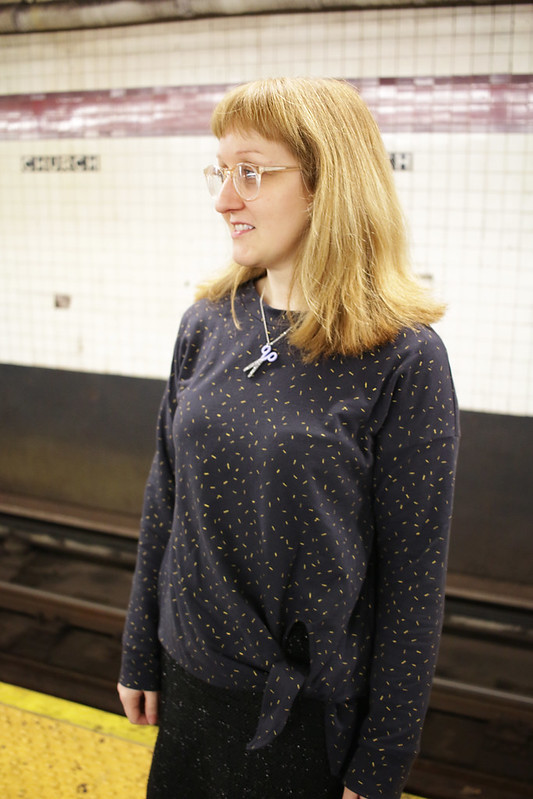
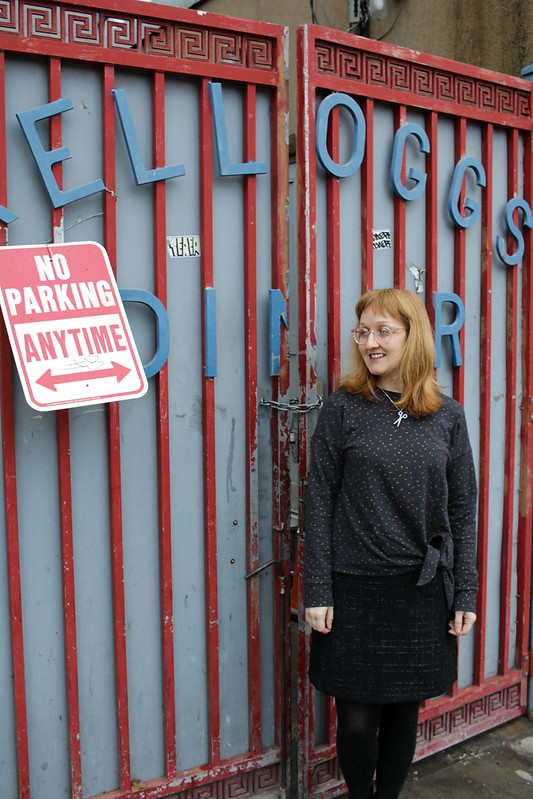
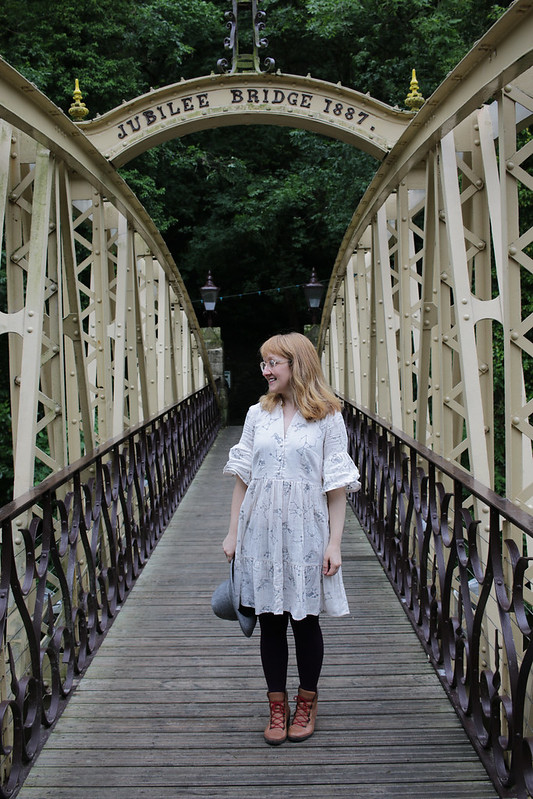
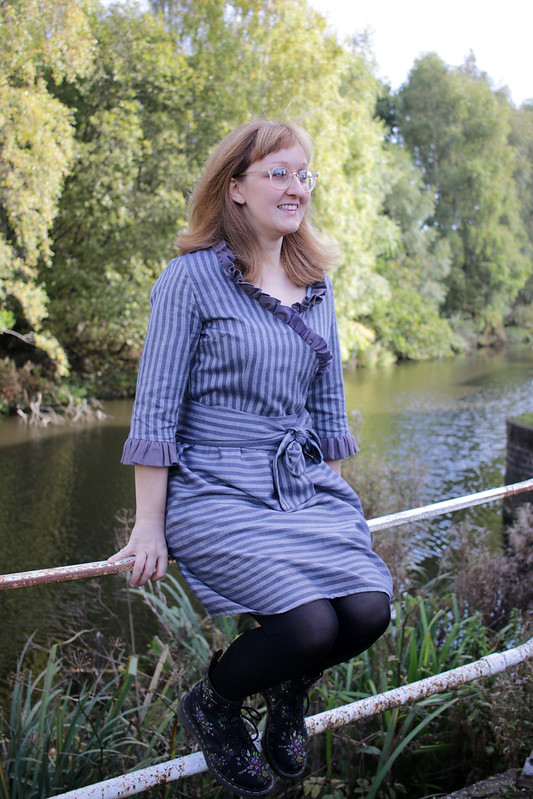
I started a new job just over a year ago. It has turned out to be not very exciting, but it has meant that all of my free time is my own which has meant plenty of time for sewing. That’s allowed me to sew some of the new pattern releases this year straight away (including Deer and Doe’s Sirocco, CocoWawa’s Raspberry, Alice & Co’s Georgie, Tilly’s Indigo, and Closet Case Patterns’ Pietra).

CocoWawa Raspberry Jumpsuit

It has also allowed me to pick up and complete quite a few projects from my unfinished-objects basket. Including a Yates Coat and faux-fur Tamarack Jacket which I cut out last winter, and a Trend Patterns’ 70s Dress which I cut out for a Christmas party two years ago.

Faux Fur Grainline Studio Tamarack Jacket

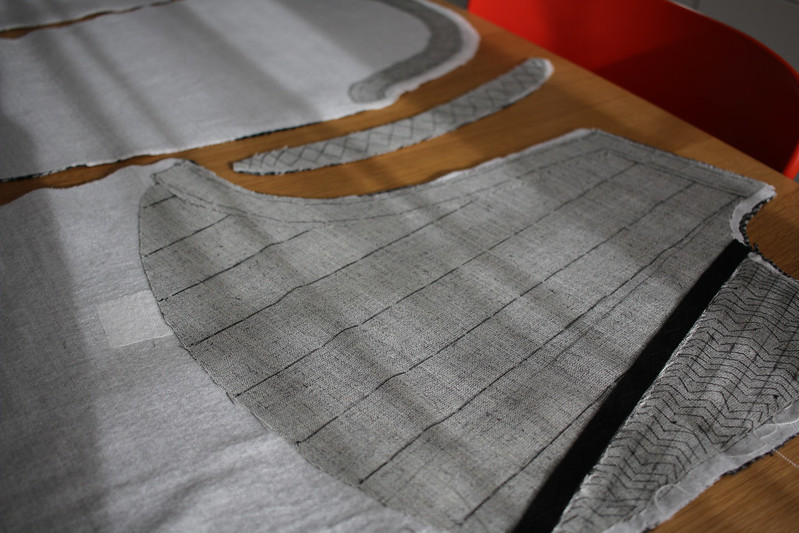
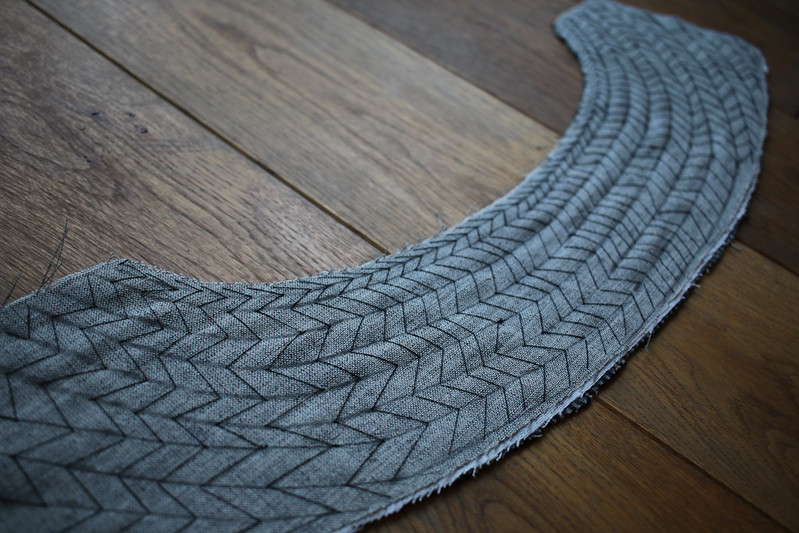
In addition to having more time to sew this year, I also began taking more care over my sewing. I really noticed an improvement in my sewing this year – an increased ability to understand how to construct a garment, and to respond to fitting or other issues as they occur. It felt like a sudden change, but it’s of course the accumulation of several years of regular garment sewing. This increased proficiency made me want to take more care, and I’ve not only being putting more care into the garments I made this year, but also revisiting past projects to address small issues with fit or finish which I’ve never been completely happy with.

The Sewing Weekender 2019

Alongside sewing, I continued to organise sewing events. I (jointly) organised the fourth Sewing Weekender (with Kate & Rachel from The Fold Line), and the sixth SewBrum (with Lauren Guthrie), plus the the first Paris Sewcial with Carmen Bouchard. Thanks so much to everyone who attends each event and makes them fun to organise and to attend. Thank you so much also to the sponsors and charity raffle prize donors. In the six years it has been running, SewBrum has raised £3,690 for six charities which is a lovely bonus of organising an event I started because I wanted to attend it!

Deer & Doe Myosotis Dress in Kokka Double Gauze

I made sure to make time to attend other events in the sewing community. I get a lot of enjoyment out of organising events, but attending an event you haven’t organised is completely different, and you are able to fully relax and enjoy the event in a way you can’t at an event you have organised. I travelled to New York to attend Male Pattern Boldness day, Leicester for the Dressmakers’ Ball, Leeds for Sew Up North, and Bristol for the Like Sew Amazing shop launch. I’m also a regular attendee at the excellent relaxed monthly meet-up Brummie Yarn Social (thanks so much to @sewsuehandmade for organising us).

Tilly & the Buttons Indigo Dress

Online, I participated in two sewing swaps, the #ogdenidaswap and #secretsewingswap. Inspired by the Love to Sew podcast, I set up a dedicated Instagram account @sewcialevents for sharing and curating sewing challenges and events in a single place, and have remained pretty good at keeping it updated.

Closet Case Pietra Shorts

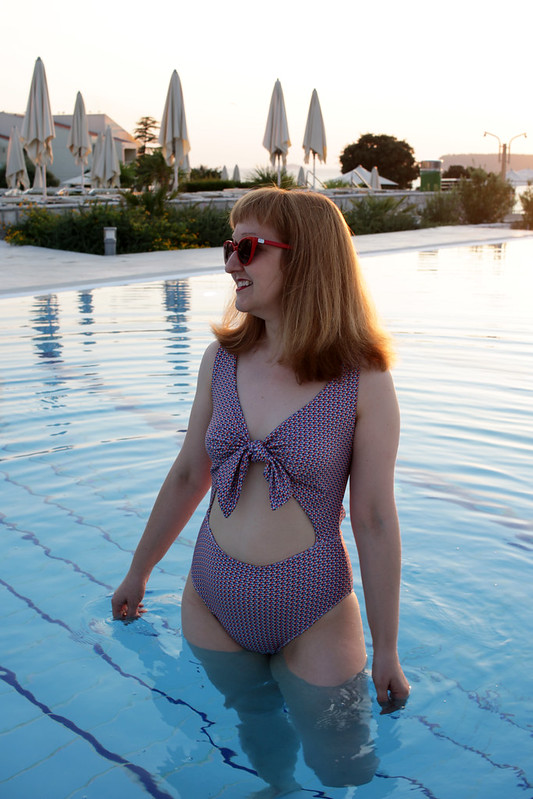
I continued to try new sewing techniques and pattern types, including sewing my first ever pair of shorts, first pair of jeans, and second ever swimsuit. I also had a go at making earmuffs to match my Tamarack Jacket and a hairband to match my Indigo Dress.

Opian Pilatus Swimsuit in Liberty fabric

Outside of sewing, I listened to 31 audio books (including 14 Agatha Christie books for free via Birmingham Library). I studied English Literature and Librarianship for my undergraduate and masters degrees respectively, which is a pretty good indicator that I used to read a lot. The amount of books I read (as opposed to magazines, blogs, etc. which has remained pretty healthy) has slipped to next to nothing in the last couple of years so I’ve really enjoyed getting back into reading via audiobooks, and it also satisfies my desire to feel like I’m multi-tasking. I was intending to use my audiobook subscription as an opportunity to keep up with new releases and instead have largely been listening to classics and old favourites, but that’s ok too.

Handwoven tartan scarf

I continued volunteering for the Association of Guilds of Weavers, Spinners and Dyers; running the newsletter and social media for the Association, and taking on the role of (joint) Programme Secretary for Birmingham Guild. I attended my first Association Summer School (they run for a week every two years) and spent a week weaving tweed and tartan near York. I really enjoyed it, but also felt like it ‘clicked’ for me and could become a serious hobby. I treated myself to a loom just before Christmas and I am planning to set it up during January and start experimenting with weaving my own fabric.

Alice & Co Patterns Mary Quant Georgie Dress

During 2019, I tried out other crafts by attending workshops in ply-split braiding, sign painting, foiling, monoprinting, bargello, and hoop earring making. I also attended two terms of tap dancing class. Unlike weaving, I don’t think tap dancing will ever ‘click’ for me, but I enjoyed being challenged, being part of a lovely group, and observing the contrast with the level of comfort and proficiency I feel with sewing.

Thank you so much for reading my blog this year. I still enjoy reading blogs and I still enjoy writing a blog, so have no intention to stop and have lots planned to share in 2020.